
*Disclaimer: As an Amazon Affiliate, I may earn a small commission from purchases made through the links below – at no extra cost to you! Thank you for your support.*
Coffee. A thing beautiful in so many forms. Hot, iced, blended to perfection, or made into ice cream. Paired with chocolate, vanilla, caramel, and a host of other divine flavors, coffee is delicious and incredibly versatile.
My go-to brew method has long since been the French press. It’s quick, easy, and produces a reliable cup of coffee.
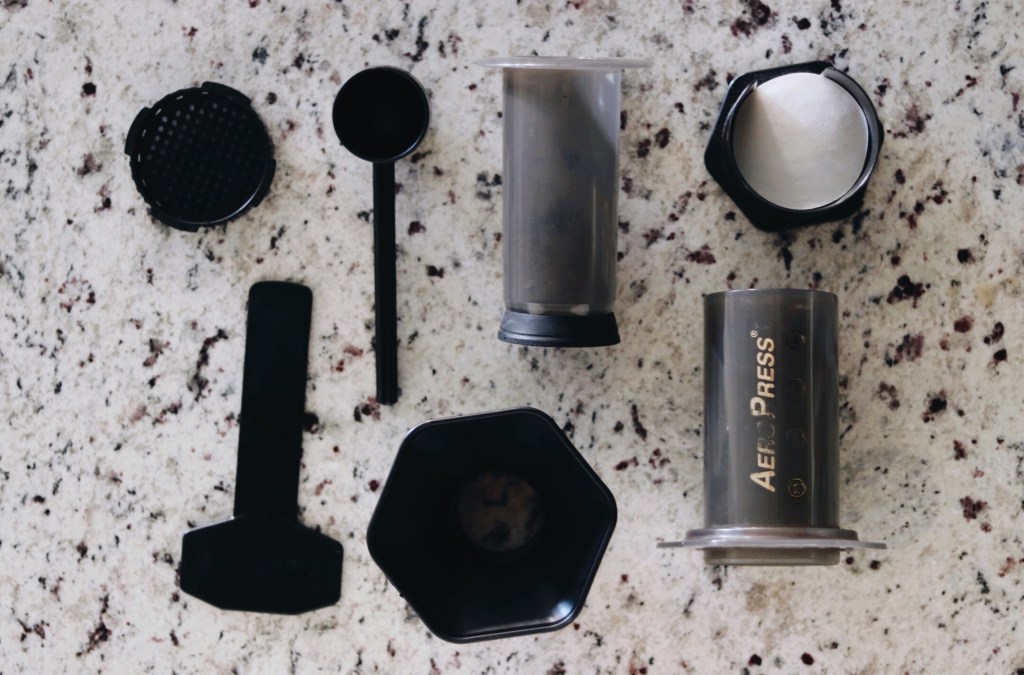
However, around a year and a half ago my mom gave me an Aeropress coffee maker, and I’ve got to say, I’ve fallen in love. The Aeropress makes a strong, smooth, clean cup of coffee. I use those words genuinely, not to sound like a coffee aficionado (I don’t think I quite meet those qualifications yet). Despite the short brew time, the coffee comes out strong due to the pressure applied. The paper filter used keeps out any and all bits of coffee grounds, and there is no bitterness like there sometimes is with other coffee makers. Hot, iced, espresso – the Aeropress can do it all!
If you don’t already own an Aeropress, I highly recommend it. They are currently only $29.95 on Amazon and trust me, when you can make your own delicious coffee at home on the daily rather than swinging through Starbucks, it will be more than worth the money.
If you do have an Aeropress – keep reading! I may or may not be somewhat addicted to iced coffee and I’d like to share with you my favorite method of making it. I know it looks like a lot when typed out, but really this whole routine takes less than ten minutes start to finish and the end result is a strong, cold coffee that is refreshing and revitalizing.
At the bottom of this post I will share links to the products used. Most of them I have been using for years, and all of them I would recommend!
HOMEMADE ICED COFFEE | MADE WITH AEROPRESS
WHAT YOU NEED:
- Coffee, whole bean or ground
- Grinder (if using whole bean)
- Scale
- Hot water
- Aeropress + accessories
- Timer
- Drinking glass
- Ice
INSTRUCTIONS:
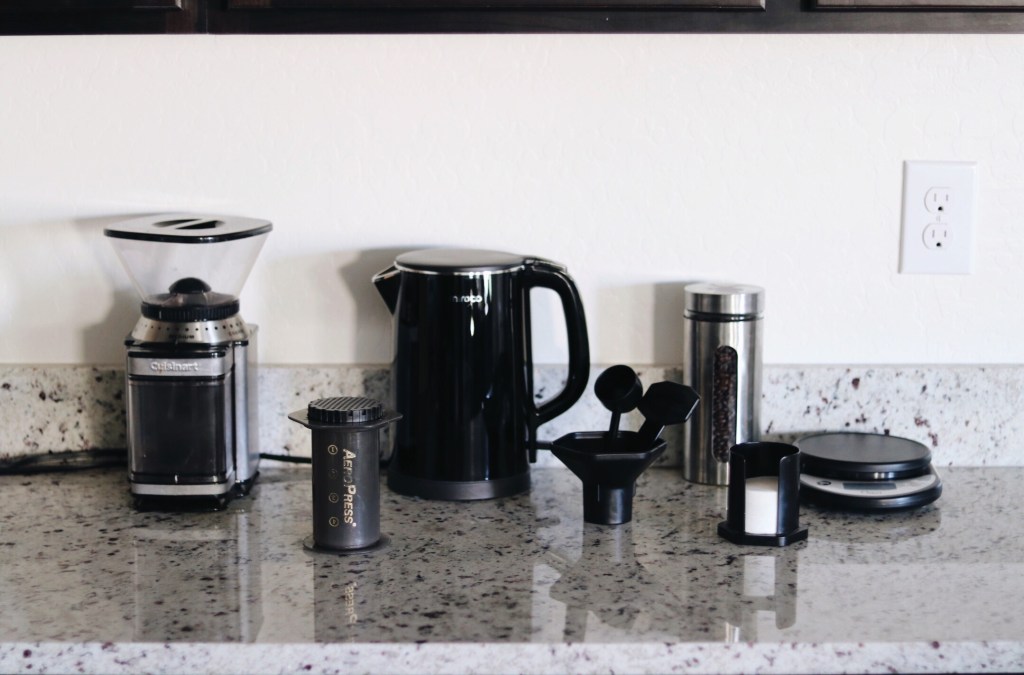
Set water to boil. If you don’t already own an electric kettle, do yourself a favor and get one! They are so convenient to have on hand. I just bought this one last week, as my other one was old and dying, and I have been quite happy with it so far! It has a large capacity, heats quickly, and is structured in such a way that it’s easy to clean.
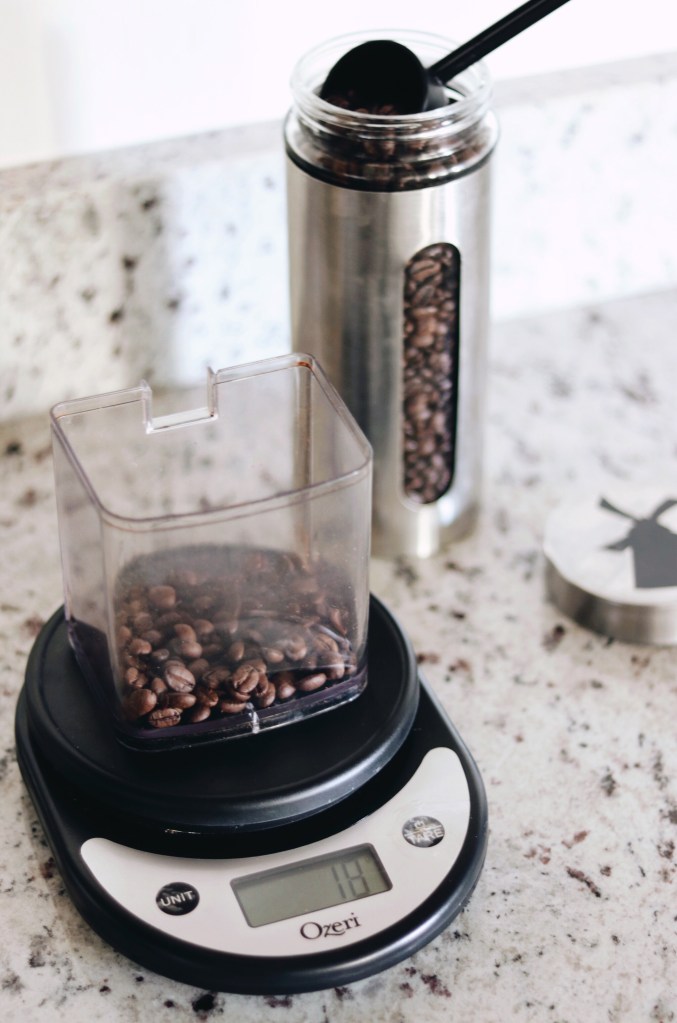
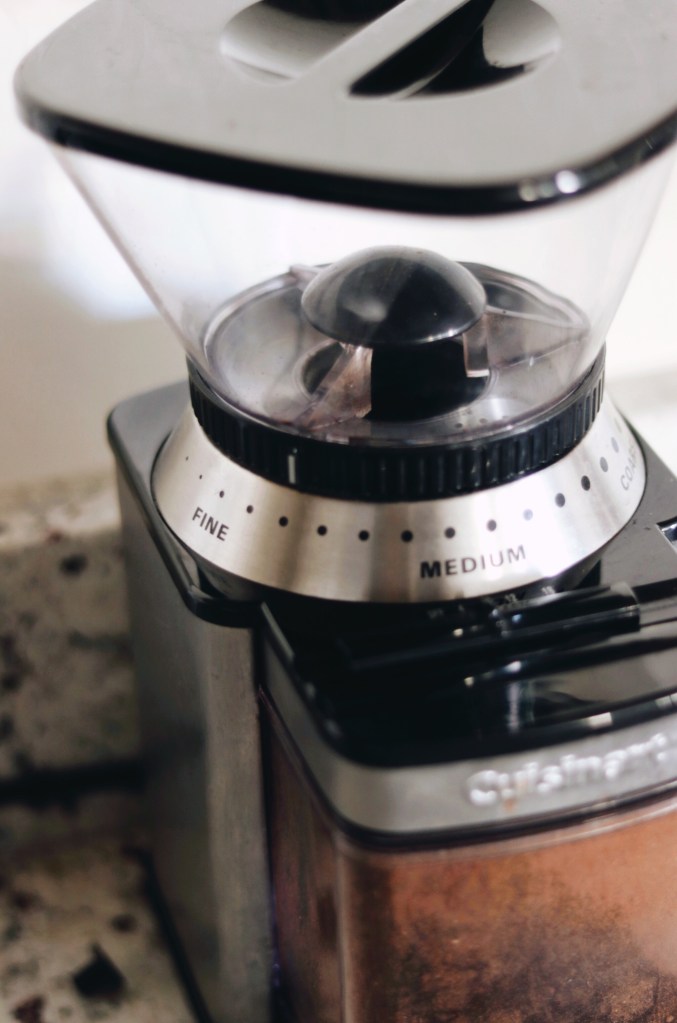
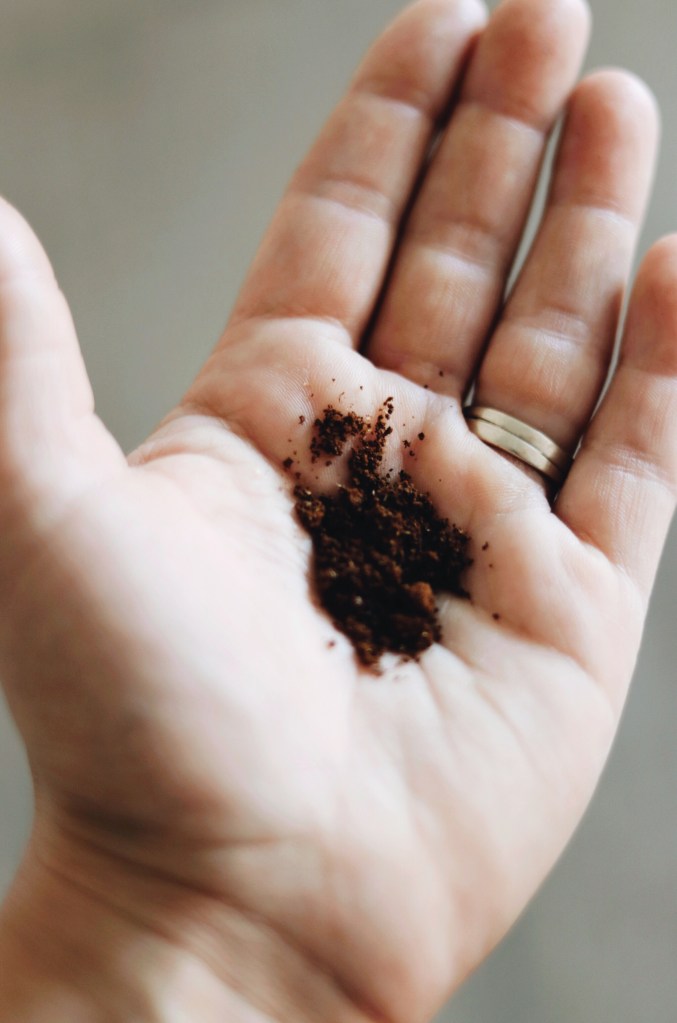
Weigh out 18 grams of coffee – grind if using whole bean. You want the settings to be about halfway between Fine and Medium; the end result should be about the consistency of sand. Dutch Bros Private Reserve is my coffee of choice. If you’re looking for a great decaf option, I highly recommend Trader Joe’s!
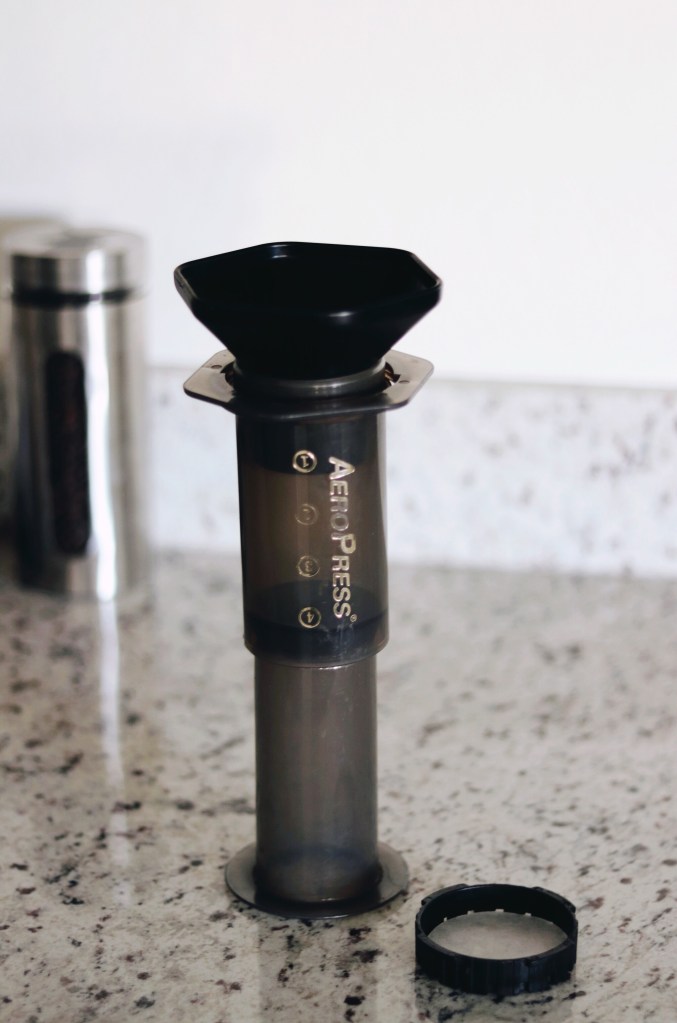
Prep your Aeropress. I use the inverted method for my iced coffee. Put the plunger into the main chamber of the Aeropress, just below the 4, and then stand on end. Place the funnel in the top for ease of adding the grounds, and place a paper filter in the basket. Once your coffee is ground, add to the Aeropress and remove the funnel.

When the water reaches a boil, remove it from the heat and let it sit until the bubbles settle down. At this point, start your stopwatch and pour just enough water into the press to wet the grounds; allow it to bloom for 30 seconds.
At the 30 second mark, add more water until just below the top. I like to maximize the amount of coffee I’m making, but you also need a little room to stir the slurry.

While the coffee is brewing, pour some hot water over the paper filter in the basket. Not only does this help it stay in place, it also removes any potential paper taste from getting into your coffee. Fill a glass with ice and set to the side.
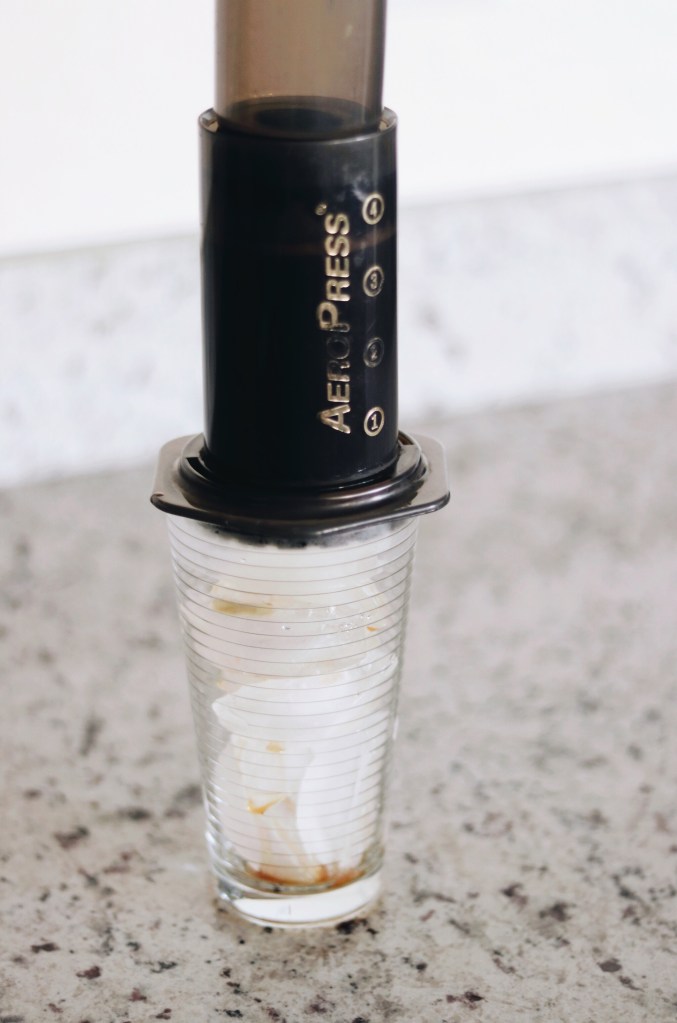
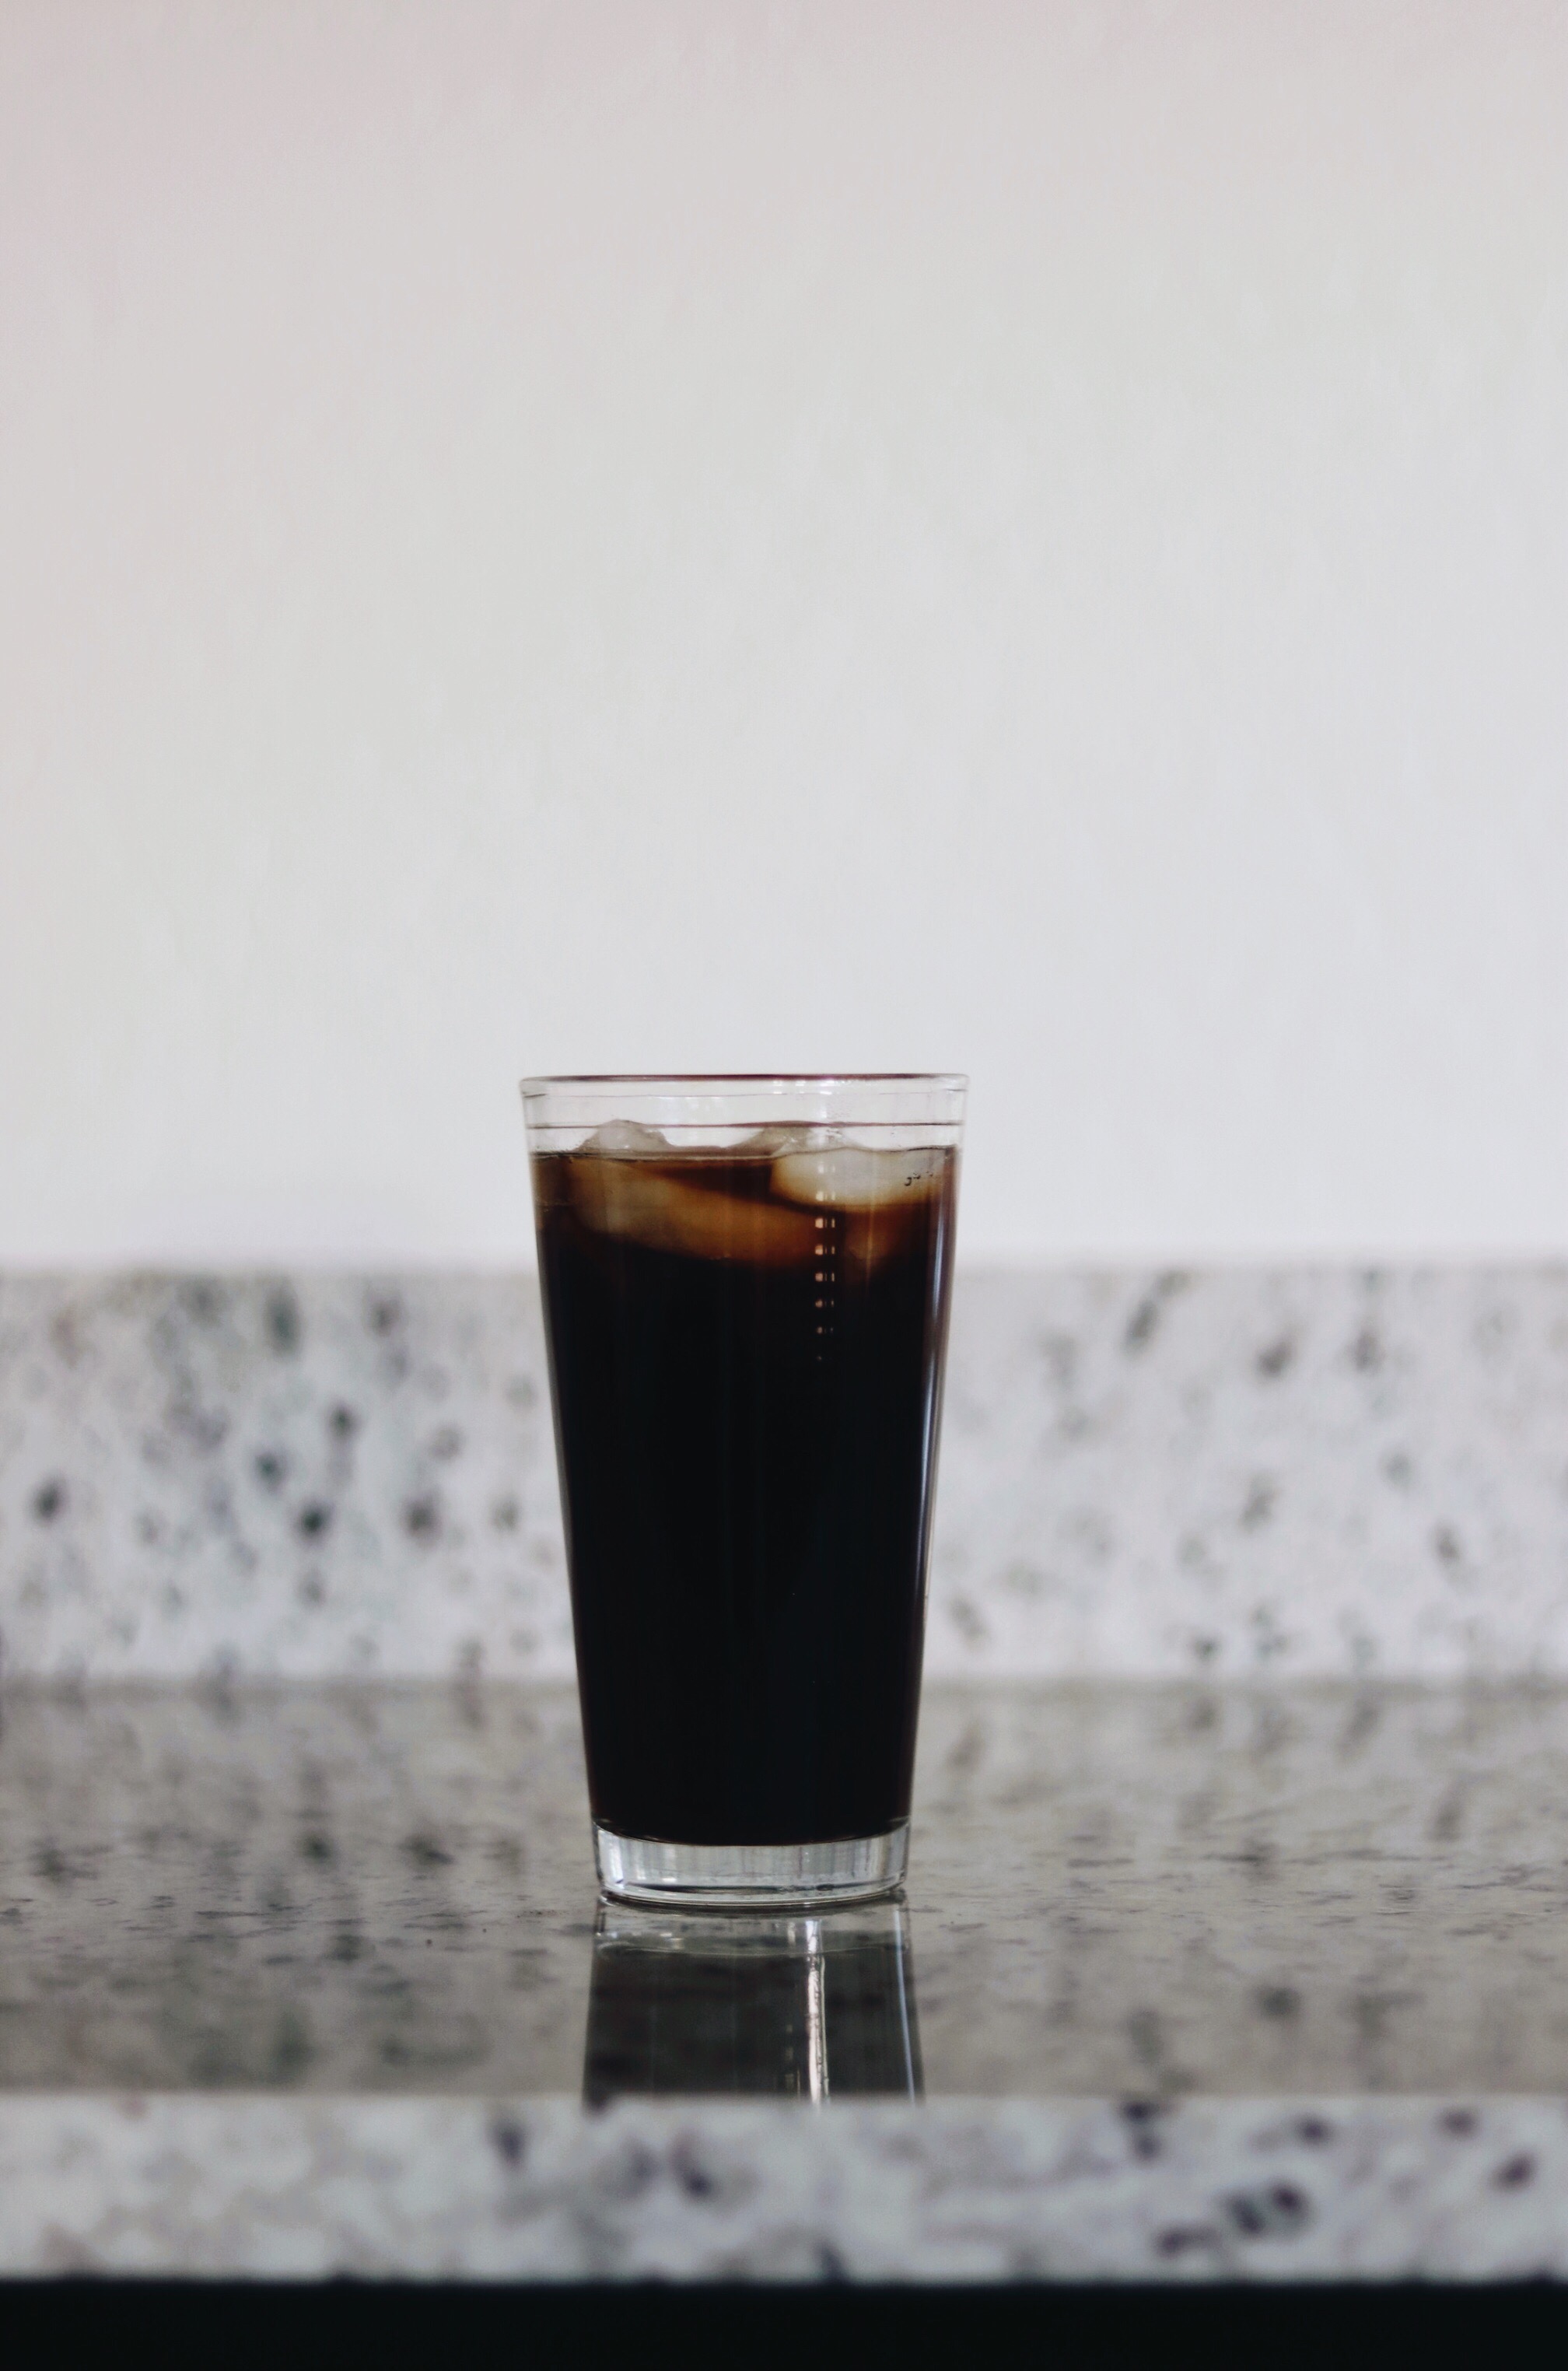
2:30 – your coffee is ready! With the Aeropress paddle, stir the slurry – I usually do this over the sink to be safe. Next, affix the basket to the Aeropress and set it on top of your glass – like so.
Plunge! You have to be firm and steady. If your grind was the right consistency, this should take a decent bit of pressure but not be crazy hard to do. If it’s too easy, your grind was too large; too difficult, and the grind was too fine.
Voila – you now have iced coffee!
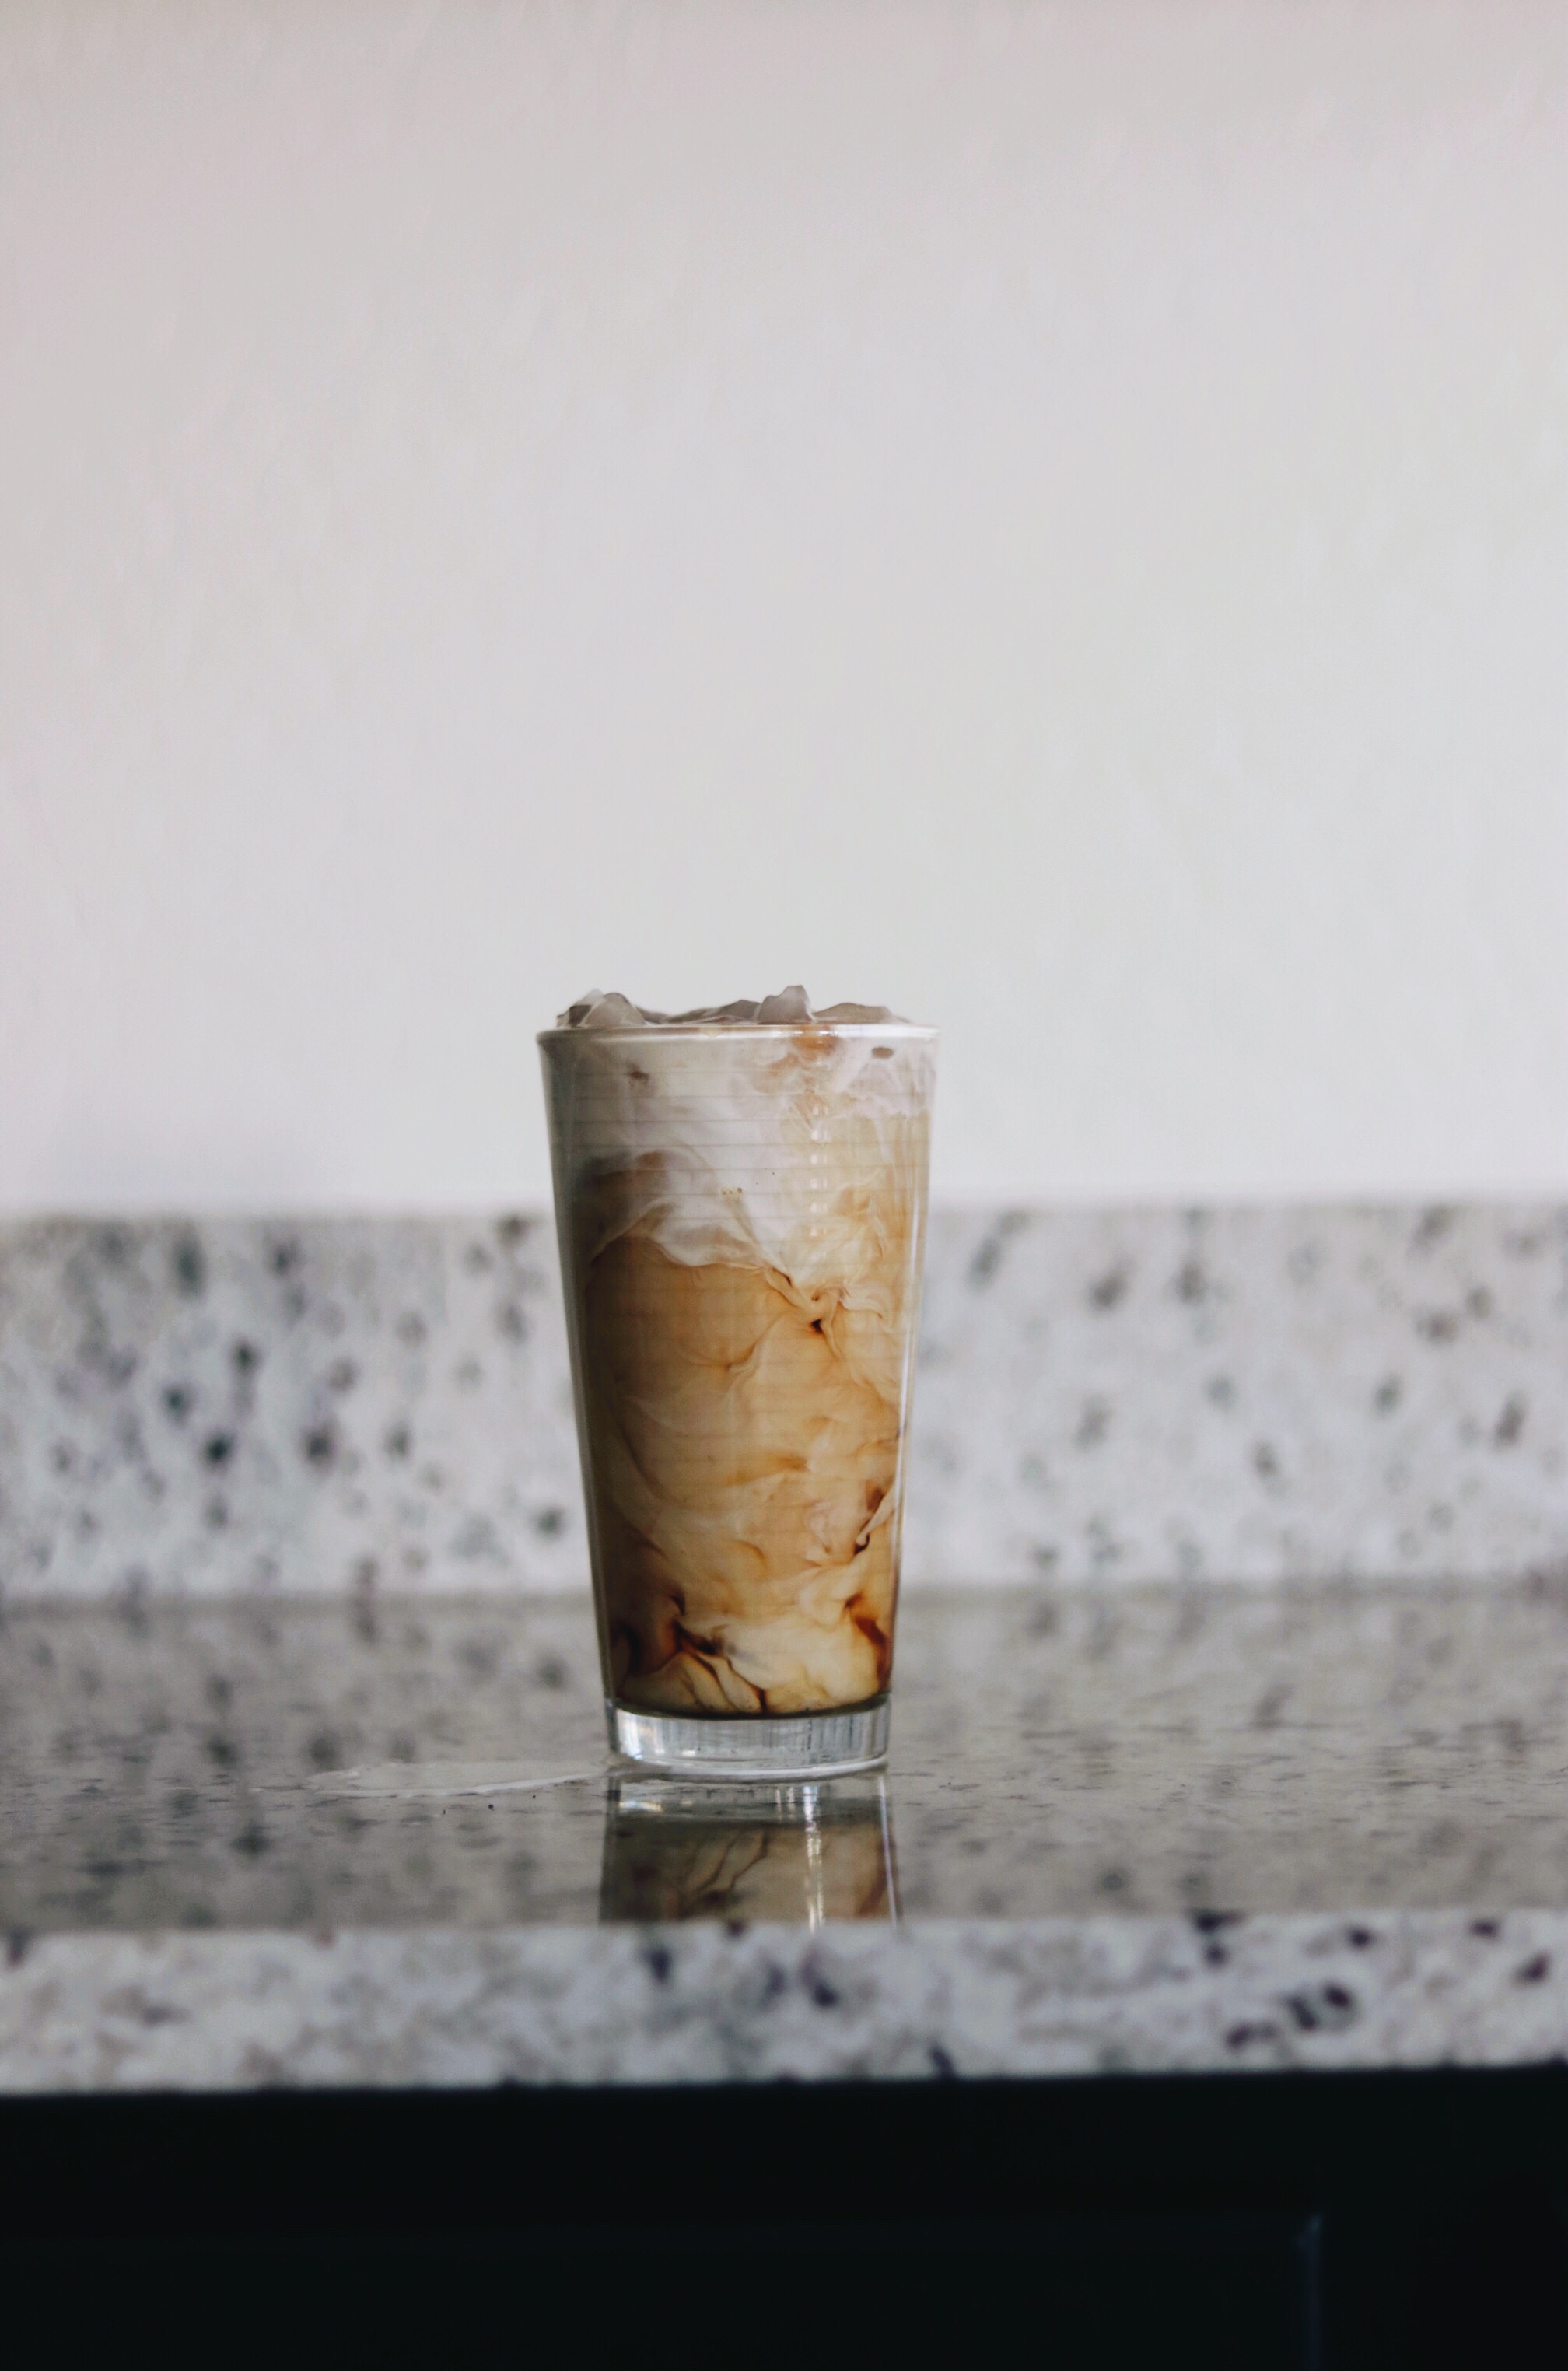
At this point, you can now add creamer and flavorings, if you so choose. Pro tip: if you want to use something like caramel sauce or ice cream for flavor (two of my favorites), add them to your glass before plunging and omit the ice. Once the hot coffee is in the glass, stir to dissolve or melt what you’ve added. Once sufficiently mixed, add the ice and allow to chill for a few minutes.
What is your preferred coffee style? If you tried out this recipe, let me know in the comments section what you thought!

PRODUCTS

Leave a comment